|

|
SECONDARY MARKET
|
|
Occasionally The Military Gallery is able to offer a small selection
of sold-out prints on the Secondary Market. All prints are carefully
inspected and supplied with original Certificate of Authenticity.
Click on thumbnail image or title to see larger image and more details.
To find out about prices and availability please contact
the Military Gallery
|
 |
|
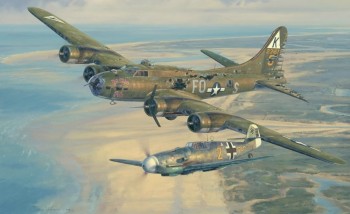
SALUTE TO THE BRAVE
Luftwaffe Ace Franz Stigler declines to destroy a seemingly defenceless and battered B-17 from the 379th Bomb Group as it limps home following a raid on Bremen, 20 December 1943. Having assessed the critical state of the Fortress flown by 2nd Lt Charlie Brown, and glimpsed some of the badly wounded men through gaping holes in the fuselage, Stigler decides to escort the bomber to the North Sea coast on a heading for England. In a final act of chivalry, the German pilot looked across at his American counterpart and raised a gloved hand in salute before swinging his aircraft away.
|
|
|
 |
|
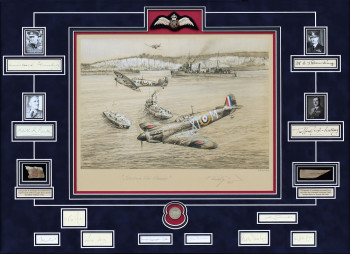
SEA & AIR RESCUE - Print & Book Portfolio
The historical importance of the edition is highlighted by the addition of rare ORIGINAL autographs within the conservation matting, including the former British Prime Minister and three of the key decision-makers within Fighter Command at the time of the battle. Alongside are signatures of Churchill's 'Few' -- brave RAF pilots who flew Spitfires and Hurricanes during the summer of 1940, plus some WAAF plotters who were instrumental in the operations rooms.
|
|
If you are trying to locate a particular sold-out
print not shown as available here, please go to Information on the
home page menu, then Contact Us. Complete the form and email to
us. We will do our best to locate the print for you trough one of
our appointed dealers.
|
|
|
SECONDARY MARKET
|
|
|